| [1] |
CentOS 7.x tương thích với Red Hat Enterprise Linux 7.x. CentOS 7 được phát hành vào ngày 7 tháng 7 năm 2014 và sẽ được hỗ trợ cho đến cuối tháng 6 năm 2024.
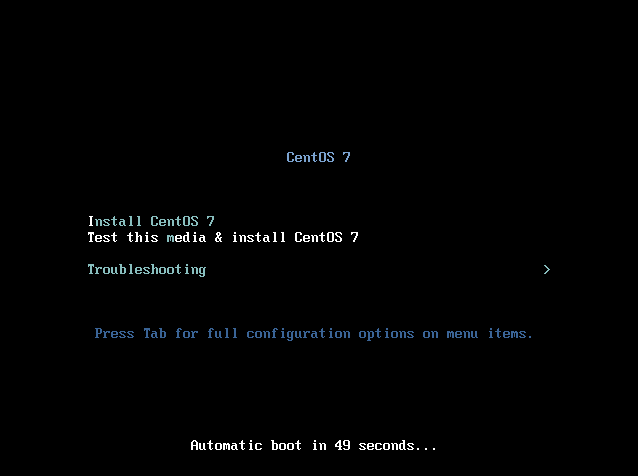
Tải về tập tin CentOS 7.2 ISO để cài đặt từ trang web sau đây: Insert CentOS install disk and start the Computer. Then, Following screen is displayed, Push Enter key to proceed. |
 |
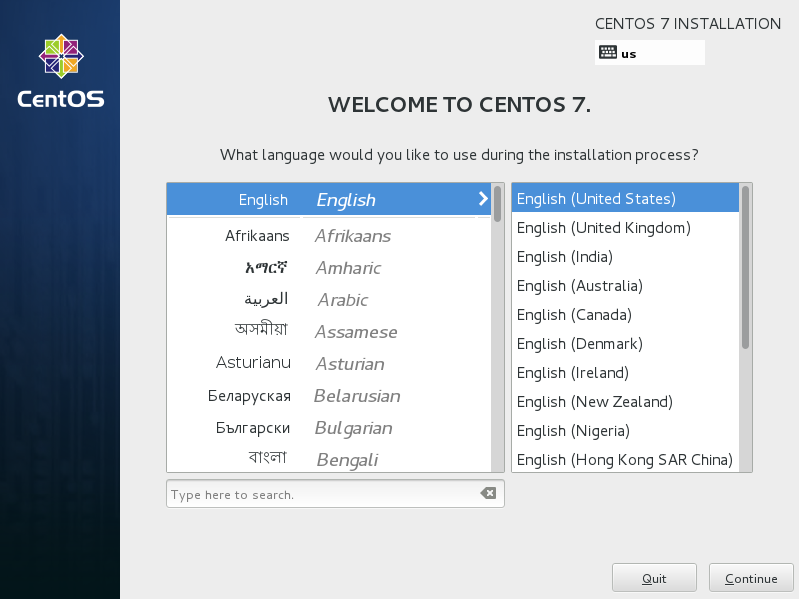
| [2] | Select the language you'd like to use during the installation. |
|
|
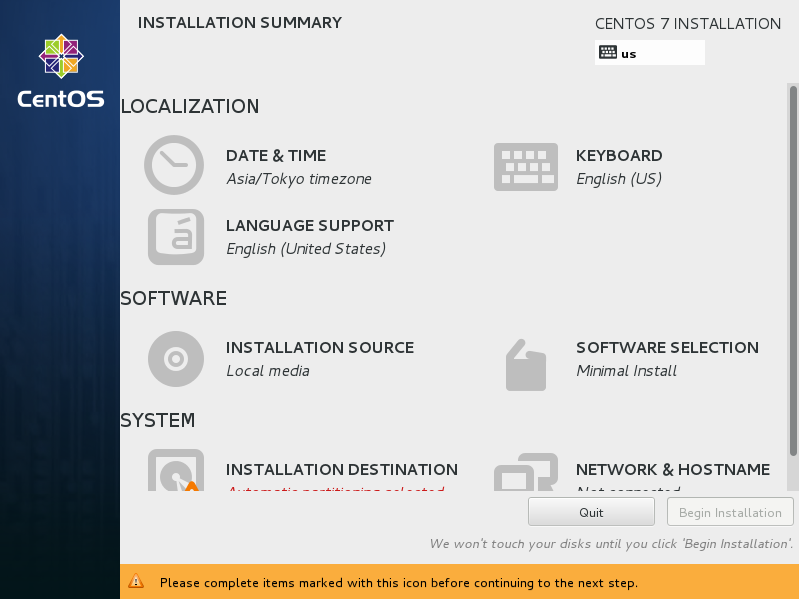
| [3] | This is the default screen for some basic configuration. First, set timezone, click the "DATE&TIME" icon. |
|
|

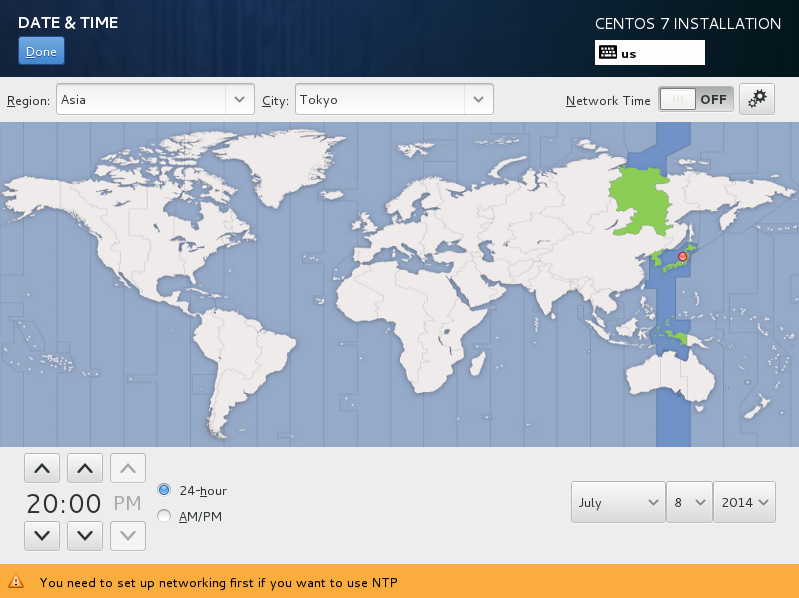
| [4] | Click a point on the map you'd like to set your timezone and push "Done" button which is on the upper left. |
|
|
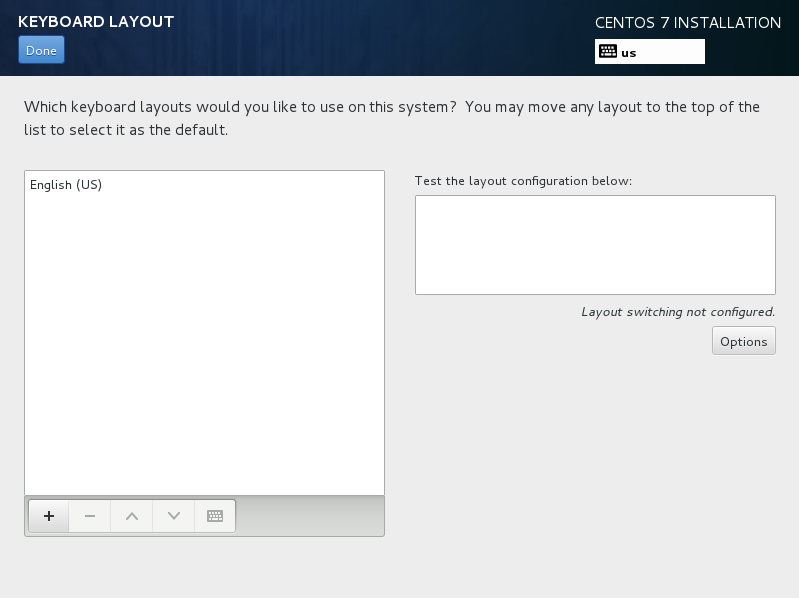
| [5] | Back to the default screen. Next, click the "KEYBOARD" icon. |
|
|
| [6] | click "+" button on under-left to add another keyboard type for your language. |
|
|
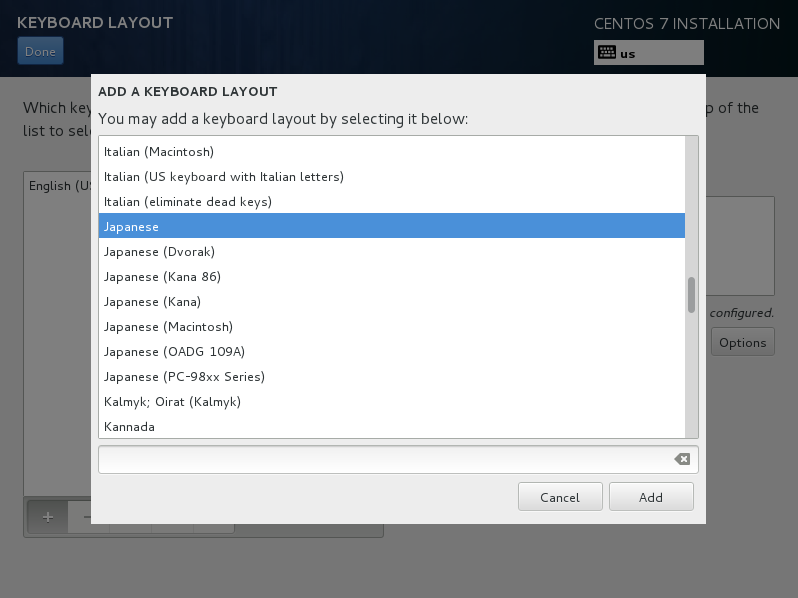
| [7] | Select your keyboard type and click "Add" button. |
|
|
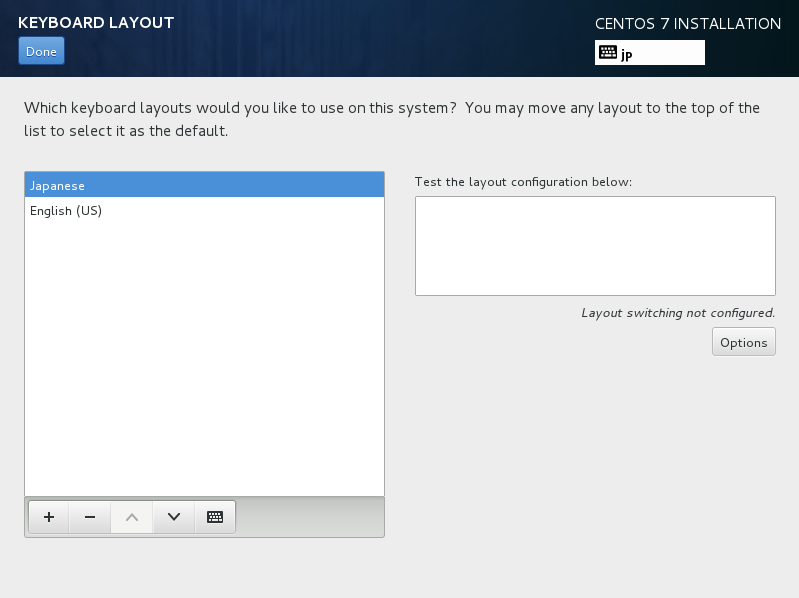
| [8] | After adding keyboard layout, send up your keyboard on the top for 1st priority like follows and click "Done" button which is upper left to finish. |
|
|
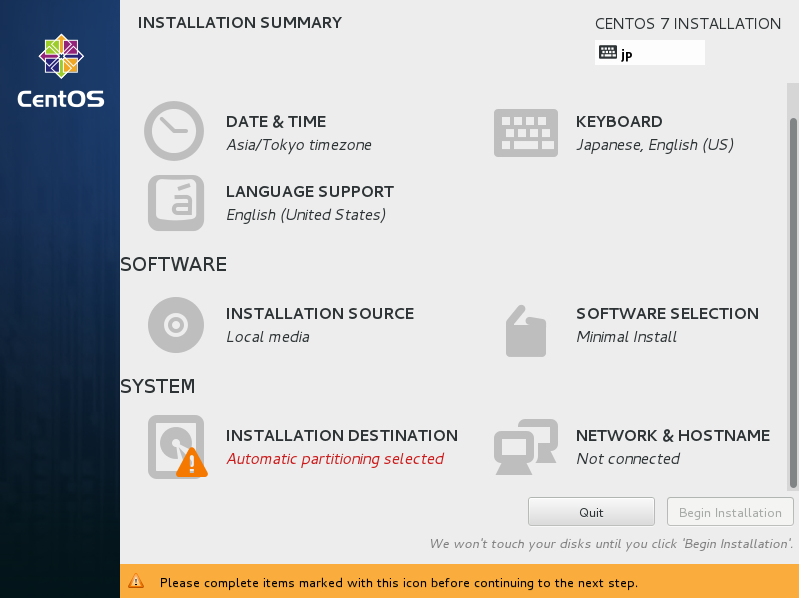
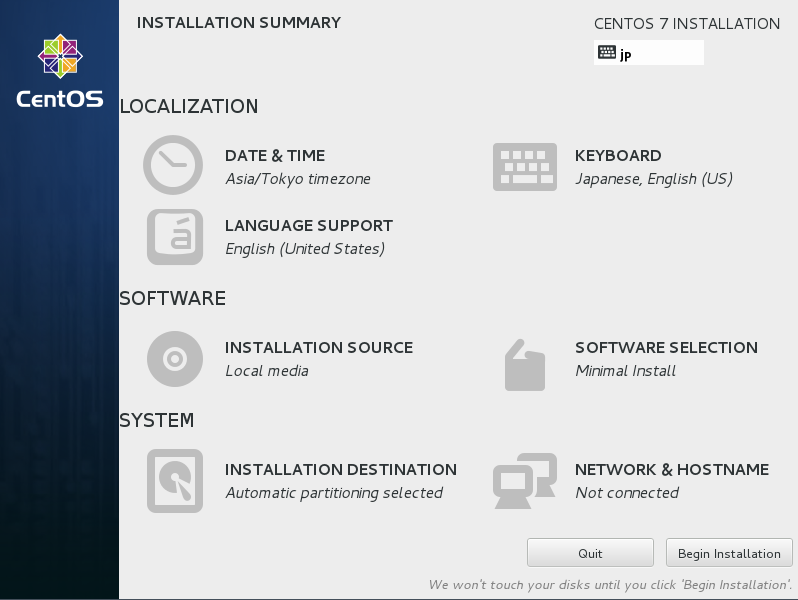
| [9] | Back to the default screen. For "SOFTWARE SELECTION", it's OK to keep default because it had better to install with "Minimal Install" for initial installation. Next, click the "INSTALLATION DESTINATION" icon. |
|
|
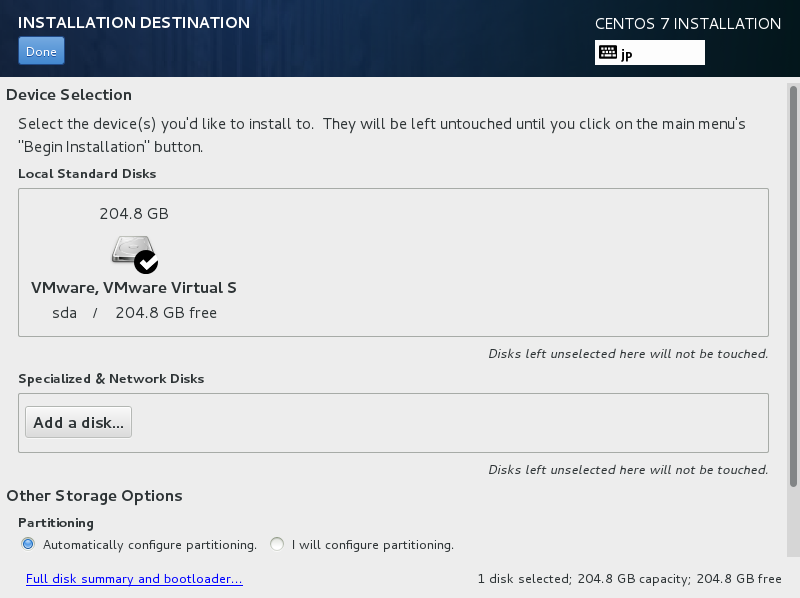
| [10] | Select installation disk. Click the disk icon you'd like to install and next, click "Done" button on upper left to proceed. If you'd like to customize partition layouts, check a box "I will configure partitioning" and proceed. |
|
|
| [11] | Back to the default screen. click the "NETWORK & HOSTNAME" icon. |
|
|
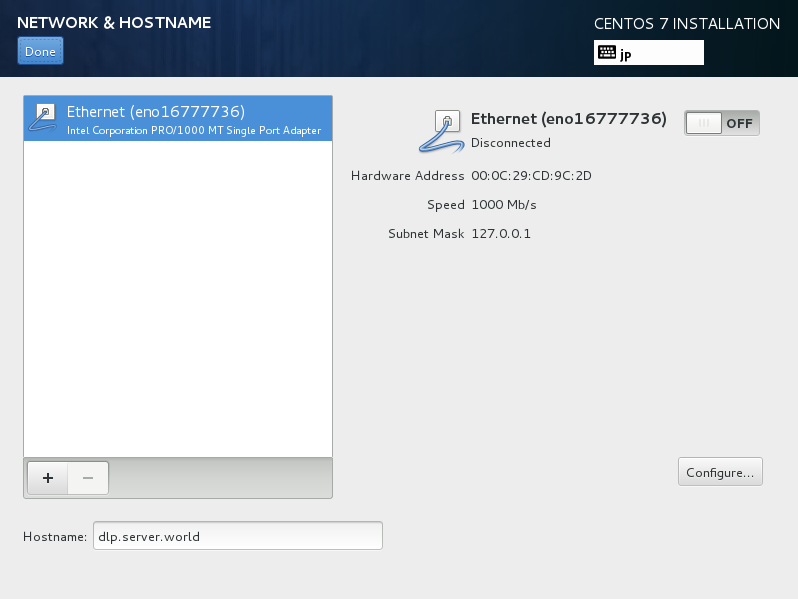
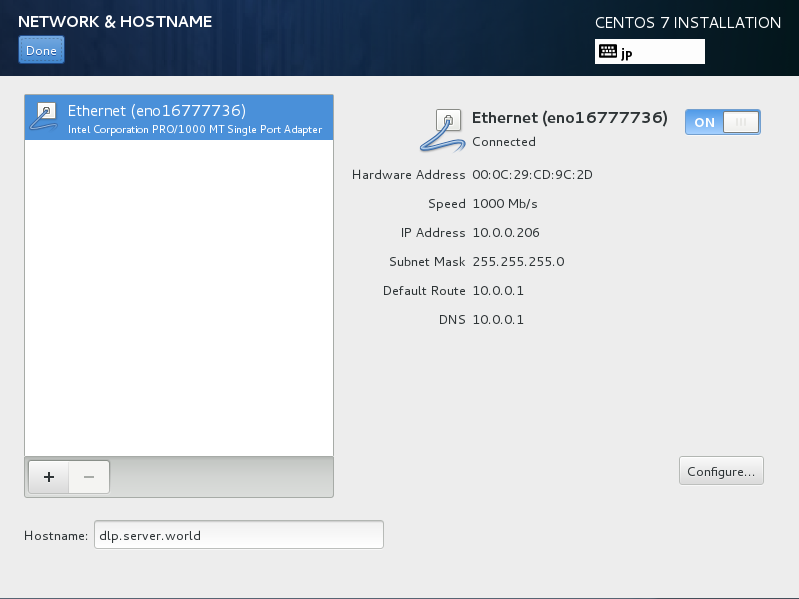
| [12] | Input any hostname you like in "Hostname" field and click "ON" button on upper-right to enable networking. |
|
|
| [13] | Click "Done" button which is upper left to finish. |
|
|
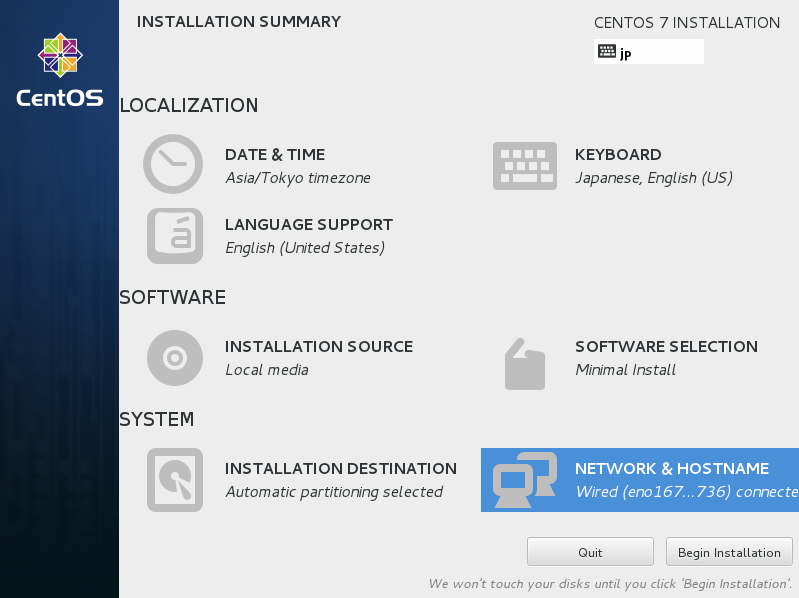
| [14] | If it's OK all, click "Begin Installation" and proceed to next. |
|
|
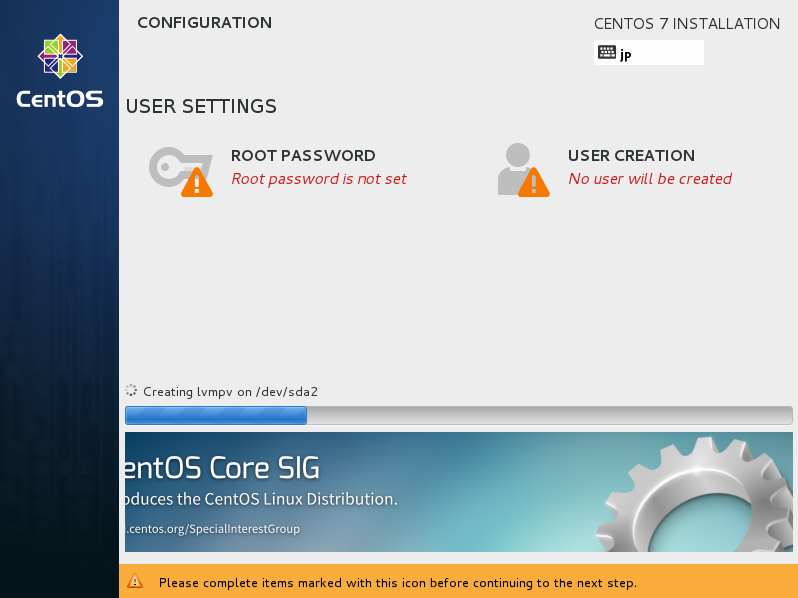
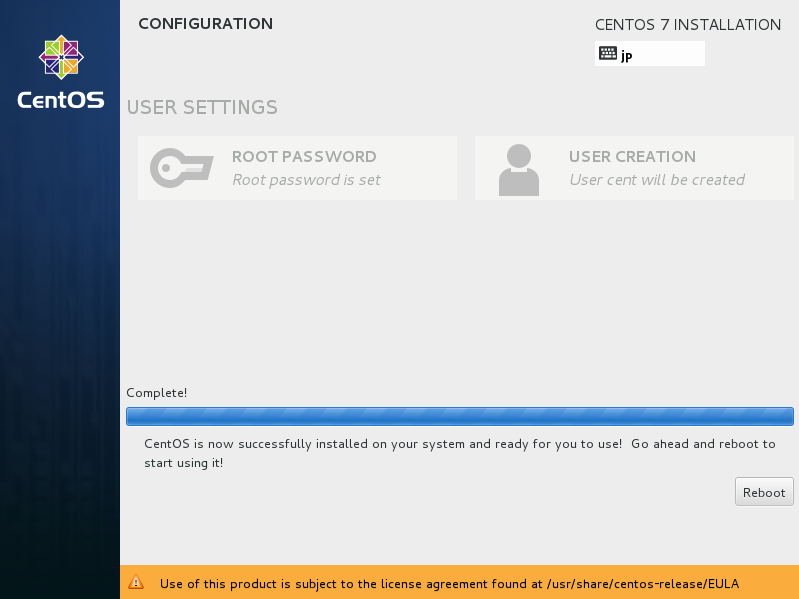
| [15] | Installation starts and required to set root password and to create a common user. Click the each icon and move to configuration. |
 |
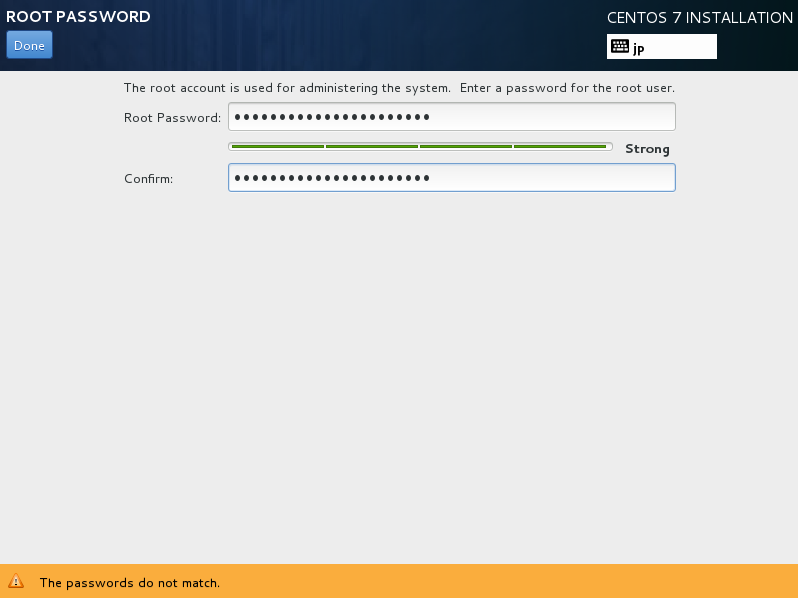
| [16] | On the root password settings, input any password you like and click "Done" button to finish as follows. |
|
|
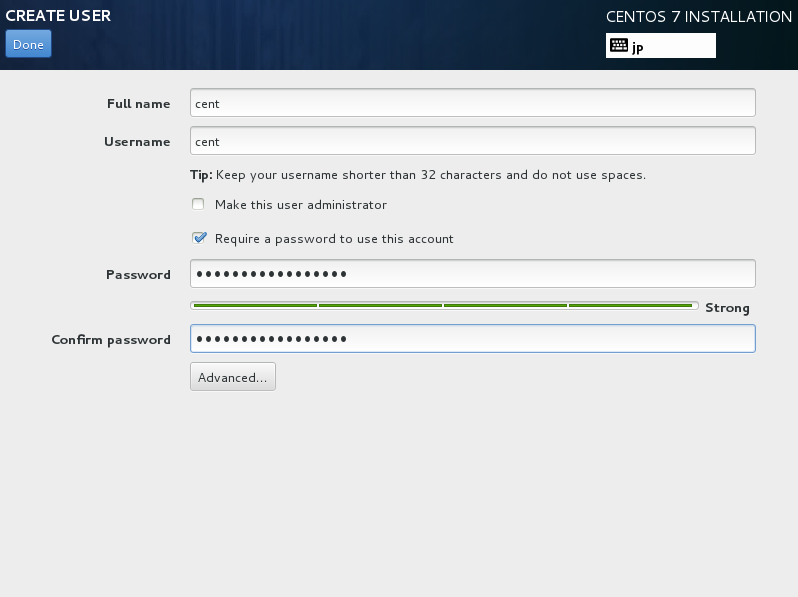
| [17] | On the common user settings, input any user name and password you like and click "Done" button to finish as follows. |
|
|
| [18] | After finishing installation, click "Reboot" button. |
|
|
| [19] | After rebooting, login prompt is shown like follows. login with root user and password you set during installation. Installing CentOS completes if you can login normally. |
 |
